At school (which I'll be done with in a few weeks, thank gods), we do a lot of bend tests. We weld two pieces of metal together, edge-to-edge, cut the newly-created piece into strips ("coupons") perpendicular to the weld, and bend them with a pneumatic hammer. This tests the strength of the weld. The guys at school are always amazed at how nice my coupons look, so I decided to write a little tutorial. The pictures here are of my 6G-downhand stick pipe test, and every single piece broke because I didn't bother cleaning out the slag.
How to Make Your Bend Tests Pretty
This is what a coupon looks like right after I (don't give a sh*t about doing a good job and) cut it. Not pretty.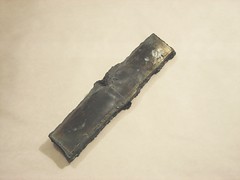
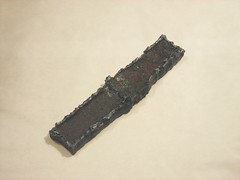
The face was ground before cutting (easier for me to mark out the coupon that way), so now the root side needs to be ground. Always grind along the length of the weld so the grind marks end up perpendicular to the weld. Don't go crazy... once the root buildup is flush, you're just getting the mill scale off, and that doesn't require much pressure.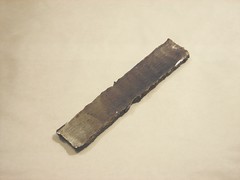
Now come the edges. First, grind along the length. Use the soapstone cutting lines on the face as a grinding guide.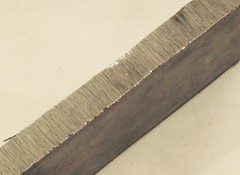
This may look flat, but it isn't. How do you make it flat? Come around to the side (looking at the face of the coupon as it's clamped), hold the grinder so the wheel is parallel to the floor, and grind back and forth along the length of the coupon. Because the new grind marks are perpendicular to the first lot, it's easy to see where your high and low points are. The little batches of stripes here are the low points: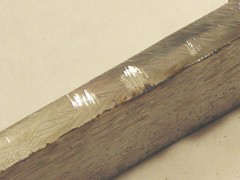
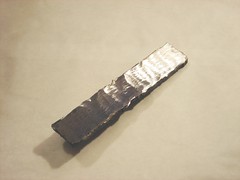
If the highs are especially high or the lows especially low, go back to grinding along the length of the weld, just in the high spots. Come around to the side for a few sideways-grinding passes now and then until it's pretty close to being flat. Use the sideways-grinding to finish, and the piece should look like this: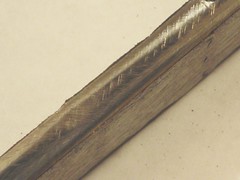
Put a small bevel on the corners, file off the burrs, and go break it!
16 December 2007
Distraction
![]()
No comments:
Post a Comment